Baking Bread in a Dutch Oven
1/19/20264 min read

I do receive a commission from Amazon for any clicks on links to their website, so if you could help me out by clicking on any of those links, it would be greatly appreciated!
Is there anything better than fresh baked bread? Maybe? But at the moment I can't think of anything.
However, I have a confession to make -
I am intimidated as all get out by the idea of baking bread.
Or at least I was until I learned how to make artisan loaves in a cast iron Dutch Oven.
I use my Dutch oven a lot, and so finding out that I could also make bread in it, well, I was SO excited, and once I tasted that first loaf I was hooked. The best part is that it is so easy, much easier than I expected, and there's no kneading nor multiple proofings, etc. , yet what you still wind up with is a delicious, crusty loaf of bread. I usually start this recipe before I go to bed and then bake it the next morning because it does need to proof for at least 8 hours.
Want to try? Here's what you do.
First, you will need -
1/2 tsp sugar
1 1/2 cups warm water - warm, not hot. You don't want to kill the yeast
1 tsp Active Dry Yeast
3 cups flour (You can use all purpose or bread flour. Both will work.)
1 tsp kosher salt. Do you have to use kosher salt? No. Can you use regular table salt? Yes
Parchment paper
Add the sugar and yeast to a small bowl and then mix in the water. Set it aside and leave it for 10 minutes so that the yeast can bloom. When the 10 minutes are up, you should see frothy bubbles in the bowl, which means that the yeast is activated and noshing on the sugar. That's what you want.
Once the yeast is activated, add to a large bowl with the flour and salt and mix until the flour is hydrated and well mixed. A good way to do this is with your bare hands, just wet them a bit with water so that the dough does not stick to them. Once the dough is mixed, put a piece of plastic wrap over the bowl and place it in a warm place to proof. I put mine in my cold oven and let it proof overnight. Do not turn the oven on, just put the bowl in the oven and close the door. It needs to proof for at least 8 hours, so as I said above, I usually mix the ingredients before I go to bed so that I can bake it the next morning.
When you're ready to bake your loaf of bread, take the bowl out of the oven, replace it with the empty Dutch oven with the lid on it, and set the oven to 450 degrees to preheat.
Yes, you leave the Dutch oven in there so that it heats up, too.
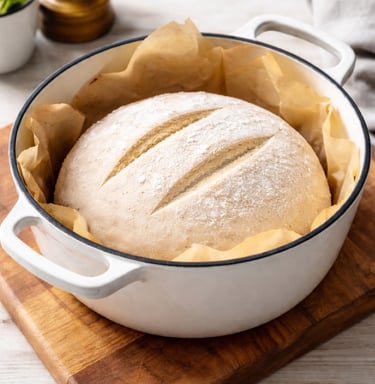
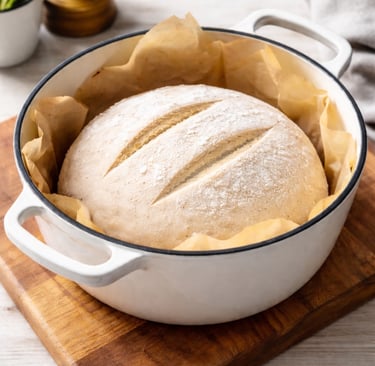
While the oven is preheating, sprinkle some flour onto your counter surface to prevent the dough from sticking, and then scrape your dough, which should be doubled in size, out onto the floured surface. Shape it into a ball by pulling the dough from the edge to the center. Go around it like that 3 times or so, pulling the dough from the edges to the center, until it forms a neat ball, and then flip it over, smooth side up, and place it on a sheet of parchment paper. Sprinkle a bit of flour on top so that the plastic wrap doesn't stick and then place the plastic wrap back over the dough to proof once more while the oven continues to preheat.
Once the oven is preheated, cut two vents in the loaf, which has doubled in size again, by making two slices in the dough with a sharp knife. This allows steam to be released as the bread bakes. Once the oven is preheated, take out the Dutch oven, put the loaf in it still in the parchment paper, put the lid back on, and put it back in the oven.
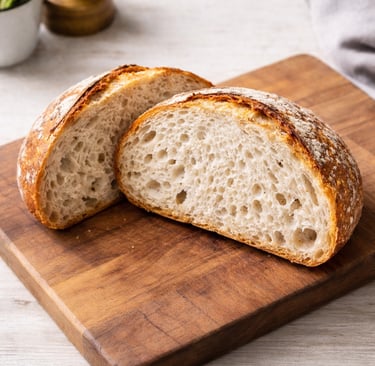
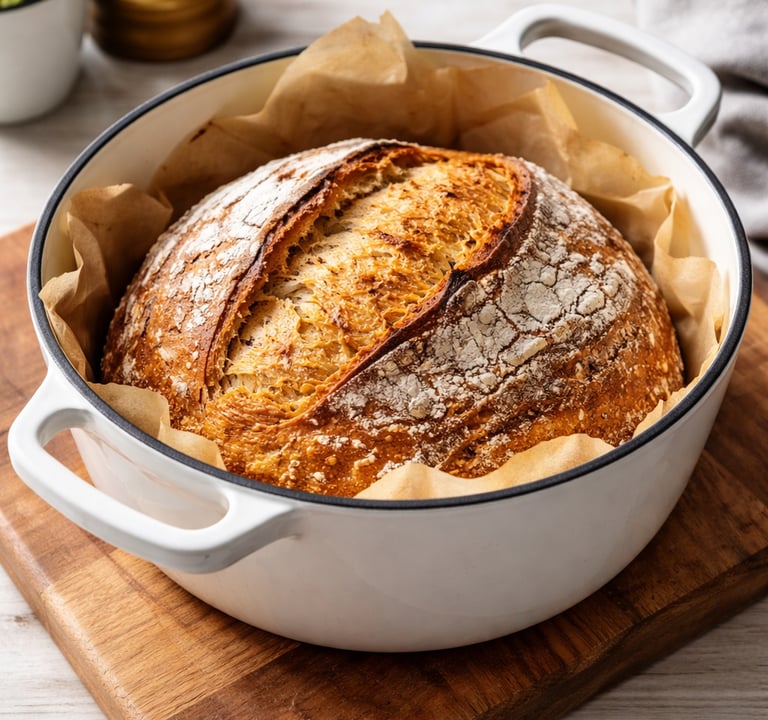
Bake it for 30 minutes and then take the lid off and let it continue baking for another 10 minutes. Once the 10 minutes are up, take the Dutch oven out and remove the loaf of bread. Put it one cooling rack and let it cool. Do not eat it yet because that loaf is still baking, even though it has been removed from the oven. Once the loaf is cooled, slice it and enjoy!
See how easy that was? So, now you can make your own artisan loaf of bread anytime you want, and you can even experiment a bit by adding some herbs or cheese, if you want. Go crazy and have fun with it!